Monday, March 24, 2014

A quick guide for new developers

A quick guide to Oculus Rift game development

Are you thinking about building a game for the Rift? Great news. Welcome aboard.

VR game development is in its infancy and you can make a difference. I think the primary thing that is going to hold back mainstream VR is lack of great software titles, not the hardware.

Where to start:
If you are getting into VR because it sounds interesting, that may not be enough. You need an idea to carry you forward. Something small but cool enough to keep your interest. I recommend reading a book on VR such as ready player one or snow crash. Then think about some of your favorite movies/books searching for something you'd love to experience in VR.

What tools do I need:
You will need 4 tools to build a game from scratch.
1. game engine: this is what accepts player input and manages their view
2. 3D editor: you will build all your 3D objects here
3. image editor: use this to build the textures that are displayed on your objects
4. sound editor: use this to crop sounds and music, add effects and convert them to work with your engine

Game Engines:

1. UDK/UE4 (Unreal Development Kit)
> cost : $19/month, plus 5% of gross revenue resulting from any commercial products built using UE4
https://www.unrealengine.com/blog/welcome-to-unreal-engine-4
> How to tweak UE4 for Rift development: http://oculusdrifter.blogspot.com/2014/06/fixing-ue-defaults-for-oculus-rift.html

2. Unity
> cost : $75/mo or $1500
https://unity3d.com/unity/download

3. Torque3D
> cost : free
www.garagegames.com/products/torque-3d

4. Coding directly against the Oculus API (Oculus SDK)
> cost : free
https://developer.oculusvr.com/?action=dl

3D Editors:

1. Blender
> cost : free
http://www.blender.org/download/

2. 3D studio max
> cost : $195/mo or $3675
www.autodesk.com/products/autodesk-3ds-max/free-trial‎

3. Autodesk Maya
> cost : $600/yr or $3454
www.autodesk.com/products/autodesk-maya/free-trial‎

Texture Editors:

1. Photoshop
> $50/mo (or get an older version cs6 for $700)
https://creative.adobe.com/products/photoshop

2. Gimp
> free
www.gimp.org/downloads

3. Paint.net (windows)
> free
http://www.getpaint.net/download.html

4. Pixelmator (OSX)
> $30
http://www.pixelmator.com/

Sound Editors:

1. Audacity
> free
audacity.sourceforge.net/download/

2. Wavepad
> free for non commercial use, $60 for commercial use
www.nch.com.au/wavepad

3. Adobe Audition $19/mo (or get older version cs6 for $350)
www.adobe.com/products/audition.html‎

Demos built with each engine:
I recommend you download a few games built with each engine to get a feel for which feels better for you.

You can try a ton of games here:
https://share.oculusvr.com/

UDK demos:
rollercoaster demo : http://www.mtbs3d.com/phpbb/viewtopic.php?f=140&t=17157
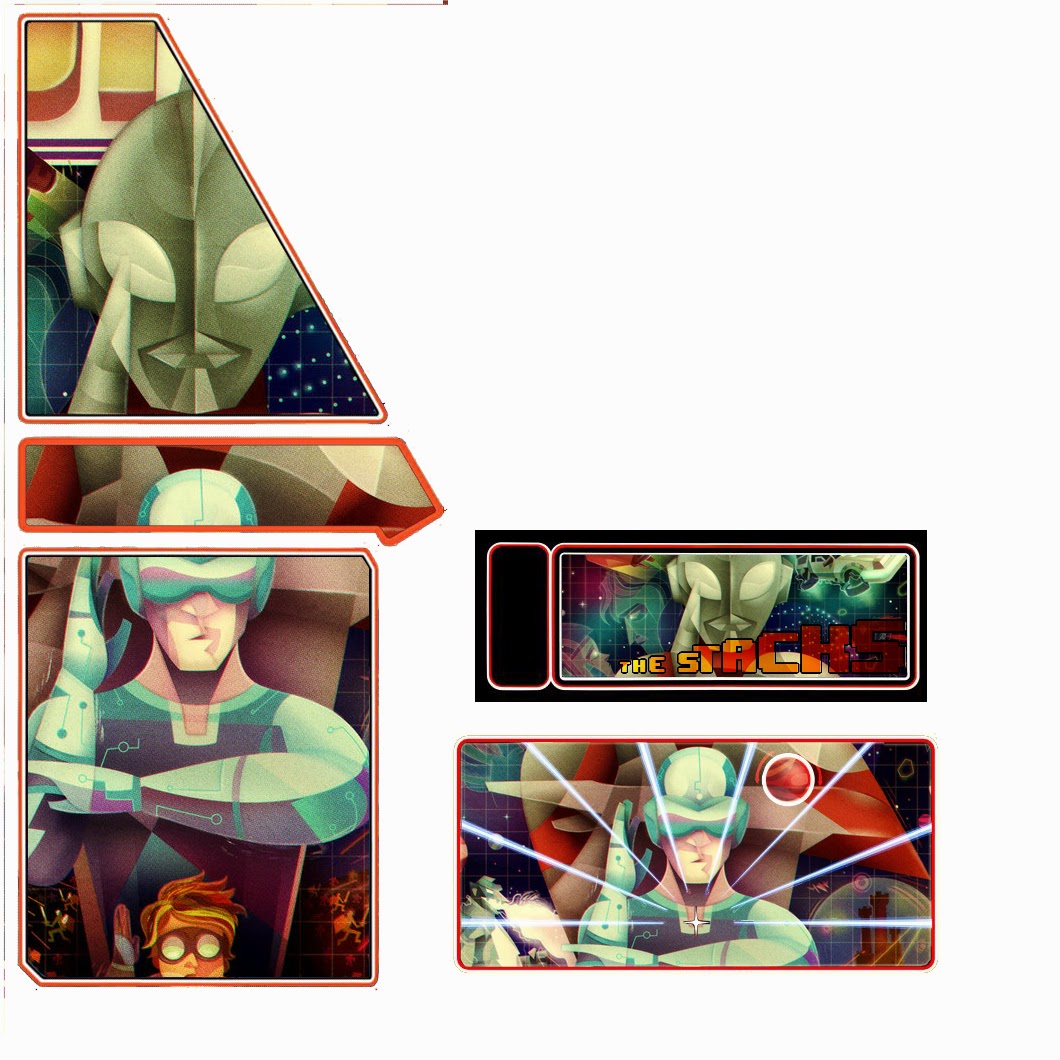
my game: http://oculusdrifter.blogspot.com/2014/05/ready-player-one-stacks-game-download.html

Unity demos:
Tuscany : https://share.oculusvr.com/app/oculus-tuscany-demo
Kite & Lightning : http://blog.kiteandlightning.la/new-oculus-experience-kl-station/

Tutorials:
UDK: http://www.worldofleveldesign.com/categories/cat_udk.php
UE4: https://www.youtube.com/playlist?list=PLZlv_N0_O1gaCL2XjKluO7N2Pmmw9pvhE
Unity: http://unity3d.com/learn/tutorials/modules
Blender: http://www.blender.org/support/tutorials/

Best Practices Guide:
Oculus has spent a lot of time researching VR development and has created a Best Practice Guide. This is a work in progress with lots of information. I think it all boils down to: don't break immersion and make sure your game is fast. Either of these will result in the user losing their sense of presence and possibly making them ill:
http://developer.oculusvr.com/best-practices

Stem Dev Days:
Steam Dev Days talks are highly recommended to get you psych'd about VR development:
http://www.steamdevdays.com/

What VR Could, Should, and Almost Certainly Will Be within Two Years
Michael Abrash (Valve)

Porting games to Virtual Reality
Palmer Luckey (Oculus VR)

Wild West of VR - Discovering the Rules of Oculus Rift Development
Devin Reimer (Owlchemy Labs), Alex Schwartz (Owlchemy Labs)

Getting a Dev Kit:
I think it goes without saying that you need to buy a development kit:

IMHO, $350 is a small price to pay to have this technology. If you can't wait, you can pick up the older dev kit off ebay, probably pretty cheap.

If you have one on order, don't let that stop you from getting started. I often find myself in venues where I don't have my VR headset for days and I can still use that time to model and polish my game.

What do I use?
I think everybody is different. There is no perfect solution. Your background, finances and areas of interest will drive your tool selections.

This is what I use:

Engine :
UDK3. I will switch UE4 once I finish my current game. I don't want to deal with refactoring anything. I chose UDK because it was used to make some of my favorite games. It was also cheap.

3D Editor :
Blender. Although I could afford the Autodesk products I wanted to give Blender a shot. After 10 months of using it I have become very comfortable with it. You must approach learning blender seriously as if it was a college course. Memorize the keystrokes and use them daily.

Texture Editor:
Photoshop. This is the odd duck of my tool selection. I do semi-professional photography and I already owned CS3. That doesn't mean other tools will work just as well. It is just what I'm used to.

Sound Editor:
I found wavepad and it has worked well for cropping, fading in/out and saving into a format that works with UDK. It sounds like Audacity may be a better pick. I will need to try that in the future.

What are the first steps?
I recommend building a simple 3D object, importing it into your game engine and walking around it via the rift. This includes texture mapping onto the 3D object. If you can do that you are well on your way to making whatever you want.

Adding more to this:
This is just the start. There is a lot to add. Just shoot me a line or add comments on what I should add. I have tried to keep it non biased but I am only familiar with certain toolsets.

Wednesday, March 19, 2014

Ready Player One Arcade Cabinet

Just adding some final meshes. I want to include an arcade machine in the game based on Ready Player One. I spent the last hour building cabinet art for it based on Tempest.

Here is the texture:


It is based off this artwork:
http://lerms.deviantart.com/art/Ready-Player-One-305633071

I think this is going to look pretty sweet as a cabinet. We'll find out in a few hours.

Here is the cabinet in blender. I need to do some texture mapping and then add the final bits to the mesh (controllers and coin return)

Here is the textured mapped version. That is good enough for my purposes right now:

Here it is in game:

It looks weird without control knobs so those need to be added but it looks nice.

wow, that took 5 hours. Where does the time go...?

Here it is in its final form in the game.

I like to think of it as a piece of cheese in a mousetrap :)

You probably couldn't see it, but this mesh had no lightmap channel and the left panel of the machine was incorrectly lit. It was going to bug me so I fixed it this morning. I hate doing lightmaps but what are you going to do?...

Proper Light mapping

Oculus Dev Kit 2 Orders Start Today

Just in case you haven't heard... The DK2 pre orders start today and will start shipping in July.


Order yours here:
https://www.oculusvr.com/order/

104 days until July. Let the countdown begin...

Here is a hands on video of the new DK2:

Monday, March 17, 2014

Video Preview of the "The Stacks"

I've been working as fast as I can to complete my Oculus Rift Demo. I only have weekends and evening hours to work on it.

It is amazing all the effort that goes into making a game. I've learned so much since last June when I got the Rift. My goal is to complete this thing by May.

Here is video preview of the hub area with many of the link areas filled in. It shows off the Matrix material in action and many of the sounds/music used throughout the game.

I'm saving the game maps for the release but this gives you a feel for how each of the boards look.

This hub has been a lot of fun to build.

The video is unedited and shows me unable to jump on my own blocks :) doh!

You do run fast though as you will see...


Here are screen shots of each transport entrance:

intro

trantor

  
matrix digital rain

  
 stacks

  
space

last holodeck area

You can download an older version of the hub from the Oculus share site here:

Sunday, March 16, 2014

Catch the player!

This is a tutorial on how to catch players when they fall off ledges and put them back close to their origin in kismet.

There is probably a more elegant way with unrealscript but since I can do it in kistmet, it just saves me the hassle of coding, compiling, etc.

First things first:
You need to know how triggers and teleports work. I'm not going to go much into detail on them. To do a teleport from a trigger:
1. add a trigger to your board (looks like a switch)
2. add a path node (teleport destination) to your board (looks like an apple)
3. select your trigger in game and open kismet
4. right click in kismet and add a trigger touch event (new event using trigger x : touch)
5. add a player teleport action (new action : actor : teleport)
6. click on your path node in game, switch to kismet and add it as a variable (new object var using path x)
7. add a player variable (new variable : player : player)
8. on touch of the trigger, link to the teleport action which references your player as target and path node as destination.

Onto this example:
I don't like folks dying so I always catch them with a trigger and teleport them where they were (roughly). If I only included 1 path node (destination) in a room, it could put them in a weird spot based on where they fell. Instead I have added 4 path nodes (north, east, south, west).

I still only have one "player rescue trigger" under the floor so I need to tell it which path node to go to based on where the player was. I do this by having 1 variable to represent the direction of the node we want to go to.

The variable will have values 1 thru 8 for the 8 cardinal directions:
1=n, 2=ne, 3=e, 4=se, 5=s, 6=sw, 7=w, 8=nw

To set the variable I have added 4 more triggers. When the player enters the north/east/south/west I fire the trigger adjust the variable. So if the player hits the north trigger, the variable becomes 1 and if they fall of the floor, they go to the path node in the north.

Each trigger is positioned so that if they jump towards it and miss it isn't hit so they are reset back to where they came from.

Since the variable will only have 1 value I can go to all 4 comparisons and only the one that is equals fires off the teleport. I use a compare int node and refer back to the original value set for that area. This means in theory I can use any value as long as none of them were the same but I think that is a recipe for trouble.

This is the kismet for doing this 

I will have several rooms with this logic so I needed group all the teleport triggers together. I also put a separate comment block around each teleport section so it was clean.

I hate lines all over the place so I added a separate player variable under each teleport target.

side view of the room 

This is a side view of the room with the 5 triggers (catch & 4 cardinal directions) selected. Note the height of the cardinal direction triggers. You can't miss them.

top view of the room

top view with the sphere removed so you can see it :) 

I hope this helps if you are in a similar situation. It is a pain but if you want your board to have a polished feel you got to do this stuff. 

Couple of notes:
1. make sure your trigger count on all your triggers is set to 0. The default is 1 which means it only fires once. This is a very common mistake to make. 
2. you probably want to uncheck "update rotation" on each of your teleport nodes in kismet. This is more natural. 

Alternate approach:
I think a more elegant solution would be unrealscript that has a path node that is positioned automatically when you leave a mesh. Then a global trigger would catch you and return you to that node. Maybe in the future I will write that but this kismet solution works for now.

2001 Discovery

I want to include 2001's Discovery in my game.

Once a week I am stuck at Starbucks for 3 hours, so I always model something. This will be my task for the week.

At least I was able to get a model into blender. It was (of course) way too large for import into UDK:


The normals were flipped, it is missing sections and the model needed scaled down but it was a great starting place.

My first task was to model the front of the ship with a lower resolution sphere. The trick was to line up parts and cut out the areas by hand. I could have used boolean but I like the challege of doing this manually. I did give up and do boolean on the top/bottom circles because that would have taken forever.

Just before using boolean on top


finished front

Lets do a size comparison of just the front:
original:
 verts=12080
 faces=12138
 tris=24137
mine:
 verts=1386
 faces=1077
 tris=2273

That is a 10.6 x reduction. It may not look as pretty but a bit of UV mapping will solve that.

I have started to build the rest of the ship. I don't expect that to be as hard. I can borrow some of the low poly areas from the original like this:


For that I dropped the back plane and merged a lot of vertexes to keep only the important stuff.

Here is my progress up to now:

Upon reflection, I have too may verts on the back area. I will need to redo that.

As time permits I keep coming back to this model to complete it. I am close. I am working on the engine. I thought I'd show an example of the clean up I'm doing.

My focus is always 2 things:
1. cleaner meshes (no stray edges)
2. fewer faces

In this example I have:
1. removed the thin strips around the base of the fuselage.
2. removed the small cylinders
3. added missing faces to the large cylinders
4. removed the extra edges in anticipation of creating 1 face in the middle hexagon.
5. pull the tail end away from fuselage so I could remove extra faces from the back

I am going to bail on creating a nice texture for this model. It won't look nearly as nice but I imagine it could easily take 8-16 hours to do it right and I don't have the time for that.

YUP... BROKEN MESH

I knew I'd get hit with this before I was done. Even though I have cleaned things up, I haven't removed enough polys. This is what happens when you mesh is too big:

When your mesh is too large, UDK only accepts so many polys. Anything after that is lost and you get this weird look. I need to go back and reduce details of certain places I ignored, like these dishes.

I did a lot of work on the dishes and reduced the verts for the model enough to get it into UDK. I am not done with the model or the lighting but this is a first crack at lighting to see how it looked:


I think this is a wrap. Just going to add it to the game on slow looping animation and we're good:

Thursday, March 13, 2014

UDK Level Streaming

As my game nears completion I need stitch everything together.

To do this I need to use level streaming via kismet.


Here is a hub with 6 triggers controlling 3 levels. Each level has 2 triggers:
1. load the level
2. unload the level

My hope was that UDK was smart enough to do this slowly in a background thread and notify you when it was complete. Nope. It freezes everything as it loads the new level. For some levels it is fast enough to not be annoying. Not so with the stacks level. That locks things up for around 4 seconds on a solid state drive.

This isn't a problem until you have a VR headset on.

To prevent the player from getting ill from the lock up I have 2 options:
1. make the screen go completely dark for the stacks
2. break the large levels into smaller pieces.

For the moment I'm going to go with the dark option just to link everything together. If you want to go to a new level you will walk through a door into a darkening hallway. When it reaches pitch black I will do the load. Then it will slowly raising the lighting as a cue when it is finished.

I may go back and break slow loading levels into into pieces... But I can only do that once I am absolutely sure the level is complete.

My second hurdle is kismet in each level. I think level specific kismet works but certain events like level loaded and visible are not fired off on the child level when it is loaded. This will require some investigative work.

My third hurdle is overall lighting being different in each level. My solution to this is to have the master level that links them all together to have no lighting at all.

----------------

I played with level loading and the blackness works very well if you carry sound into it. So... even though the level locks up during loading, music keeps playing.

------------------

I've found that on my earlier levels, UDK does not lock up. I need to keep playing with it but it is very promising. I'm able to immediately show the oculus logo as a loading screen load the opening segement and the player can look around the logo while they wait.

Tuesday, March 11, 2014

Shell Beach

If you haven't noticed... my game isn't just the Stacks from Ready Player One.

Just as Ready Player One is an homage to 80s pop culture, my game is a mini-homage to sci-fi which includes Ready Player One. I bet I can finish this scene in a day.

I've got the perfect place for this and this will be super easy to build:


Now how do you get to shell beach again...?

Saturday, March 8, 2014

Foundation & Empire

Modeling Trantor & the Clown

My moniker 3rd Foundation is a play on Asimov's Foundation series. I've always wanted my game to start with this image:

This piece of art has stuck with me for over a decade since I first read the Foundation Trilogy.
It is by Michael Whelan. More on his artwork here: http://www.michaelwhelan.com/

Note his logo is by the Clown's foot. I love that.

I am hoping he approves my virtual reality treatment of this painting. I'd love to include it.

My intent is for you start on Trantor looking at the Clown. He then plays the Visi-Sonar and screen fades to my logo. This is going to take a few weeks but I'm hoping it works out well.

I thought I'd keep updating this blog entry as I progress. I've never modeled a human before so I need to watch a few training videos. I want to be able to animate the clown and I expect a lot of pain in getting this information to carry over from blender to UDK. Asimov's brilliant Foundation series deserves some VR treatment and I'm gonna give it a go.

The first thing I am doing is modeling the largest column in the foreground.

Here is my humble start of modeling it. I could have went the alpha channel route and not modeled all the detail of the column, but I want this to look great in the Rift.


I did a quick map of the object onto the painting.

Here is the test in game:

I'm digging the look of that.

Here is the texture I will use for mapping 3 different columns I will make.
It took me 4 hours to make this texture.

Here is a texture for the ground:

I finished the 3 columns I wanted to do.
Here they are in game:

Working on the Clown's chair:

Just finished modeling the seat. 
I doesn't look like much yet because I haven't built a texture for it. 
I just projected the model right onto the painting.

Now to create an interior texture. This is the first step: eliminating the clown

Chair is complete... that took around 10 hours...

My logo is going to be gigantic. I needed a 2 tiled textures from the painting. I took all the column detail I could into a 512x512 image, cloned it, used the offset filter and kept cloning/offsetting until it was seamless. There was some color variation on the blue detail so I had to turn it black and white and add a blue hue on top of it.

Blue seamless tile

Gold seamless tile:

Hmmm. This happens a lot. You experiment and have to back track. Being honest with myself, I like the original non-tiled model the best (one in the middle). Maybe if I add a height map to the original texture it will pop out and improve it at large scale.

I will still use the tiles on the ground. That will replace my original intended texture which sucked because there wasn't much to sample from the painting.

First crack at laying out columns from the painting's perspective.

I adjusted the fog to match the painting's color, added lighting and a star sphere around the whole scene. Much better. Starting to feel real. Walking around it with the Rift is already giving me chills. 

Working on a section of ground this morning. Doing it this way is risky because it introduces a lot of vertices. With careful merge work I can cut this vertex count down by half. I'll have to see if it is enough.
I replicated that block 6 times and deformed each copy slightly differently. I saved that as one object and brought it into UDK.

I then copied that object 6 times and adjusted the rotation to match the painting. Once I had that I continued to build up the ground. Here is the final result:

Next I need to build up the Clown's platform so the chair isn't floating the air. 
That will be tonight's job.

I got it looking good in all directions and moved my logo off to the left.
This is my poor mans pano. I tried hugin but it was giving me trouble and I don't want to mess with it anymore...

I was going to use a human modeling tool tonight but decided to leave the person until last.

This is the first step of building the platform. I had to rotate the painting so I could use it as a background to keep the scale in tact. I had to think about this a bit. There are poles hidden under the platform visible it the left tear away. There are 24 panels that go around the circumference of the inner ring. I created a circle of exactly 24 sections to make my life easier.

Working on the platform textures...

Yup, that was a bad idea. I can't build 2 textures from scratch and expect the chair and platform to mesh. Texture work is often a very tedious process to get it right. I imagine I will be doing some hue adjustments to all the chair related textures in the end to get it to fit with the columns.
That's it for tonight.

Emerging from Trantor:
 
The final tunnel will be much longer...

I did work on the tunnel but UDK lighting is a finicky thing. I want the tunnel to have lighting under my control but the surface to use the dominant light. I was able to turn the light and fog off and on using kismet.

I put this aside for the moment to work wiring my boards together and adding the polishing touches on a new level I dreamed up yesterday.

I think it is important to continue to re-evaluate your work as you progress. It became clear that emerging from a tunnel is not a good idea for an opener. The player's view point is wandering all over the place when they emerge from the tunnel.

A better option is to move them forward. They will keep them looking in the direction I want so that they can see my logo at the end.

I haven't added any more meshes but I have the character flying over the landscape and the map transition into the starting map.

Here is a video of this level in action:
 

I added some music and opening/outro animations. 
You can't see the opening because it is already in memory.