
My moniker 3rd Foundation is a play on Asimov's Foundation series. I've always wanted my game to start with this image:

This piece of art has stuck with me for over a decade since I first read the Foundation Trilogy.
It is by Michael Whelan. More on his artwork here: http://www.michaelwhelan.com/
Note his logo is by the Clown's foot. I love that.
I am hoping he approves my virtual reality treatment of this painting. I'd love to include it.
My intent is for you start on Trantor looking at the Clown. He then plays the Visi-Sonar and screen fades to my logo. This is going to take a few weeks but I'm hoping it works out well.
I thought I'd keep updating this blog entry as I progress. I've never modeled a human before so I need to watch a few training videos. I want to be able to animate the clown and I expect a lot of pain in getting this information to carry over from blender to UDK. Asimov's brilliant Foundation series deserves some VR treatment and I'm gonna give it a go.
The first thing I am doing is modeling the largest column in the foreground.
Here is my humble start of modeling it. I could have went the alpha channel route and not modeled all the detail of the column, but I want this to look great in the Rift.

I did a quick map of the object onto the painting.

Here is the test in game:

I'm digging the look of that.
Here is the texture I will use for mapping 3 different columns I will make.
It took me 4 hours to make this texture.

Here is a texture for the ground:


Gold seamless tile:


Here is the texture I will use for mapping 3 different columns I will make.
It took me 4 hours to make this texture.
Here is a texture for the ground:
I finished the 3 columns I wanted to do.
Here they are in game:
Working on the Clown's chair:
Just finished modeling the seat.
I doesn't look like much yet because I haven't built a texture for it.
I just projected the model right onto the painting.
Now to create an interior texture. This is the first step: eliminating the clown
Chair is complete... that took around 10 hours...
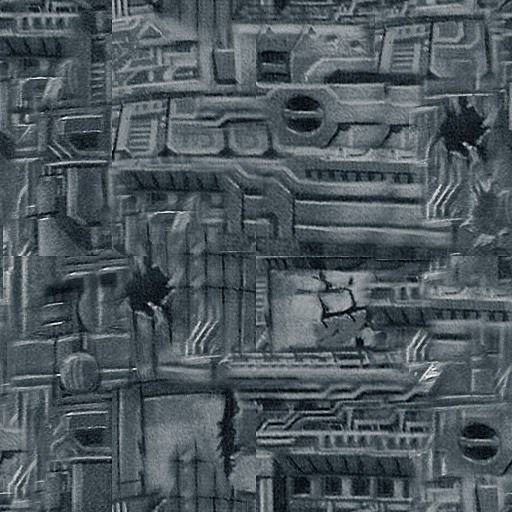
My logo is going to be gigantic. I needed a 2 tiled textures from the painting. I took all the column detail I could into a 512x512 image, cloned it, used the offset filter and kept cloning/offsetting until it was seamless. There was some color variation on the blue detail so I had to turn it black and white and add a blue hue on top of it.
Blue seamless tile
Gold seamless tile:
Hmmm. This happens a lot. You experiment and have to back track. Being honest with myself, I like the original non-tiled model the best (one in the middle). Maybe if I add a height map to the original texture it will pop out and improve it at large scale.
I will still use the tiles on the ground. That will replace my original intended texture which sucked because there wasn't much to sample from the painting.
First crack at laying out columns from the painting's perspective.
I adjusted the fog to match the painting's color, added lighting and a star sphere around the whole scene. Much better. Starting to feel real. Walking around it with the Rift is already giving me chills.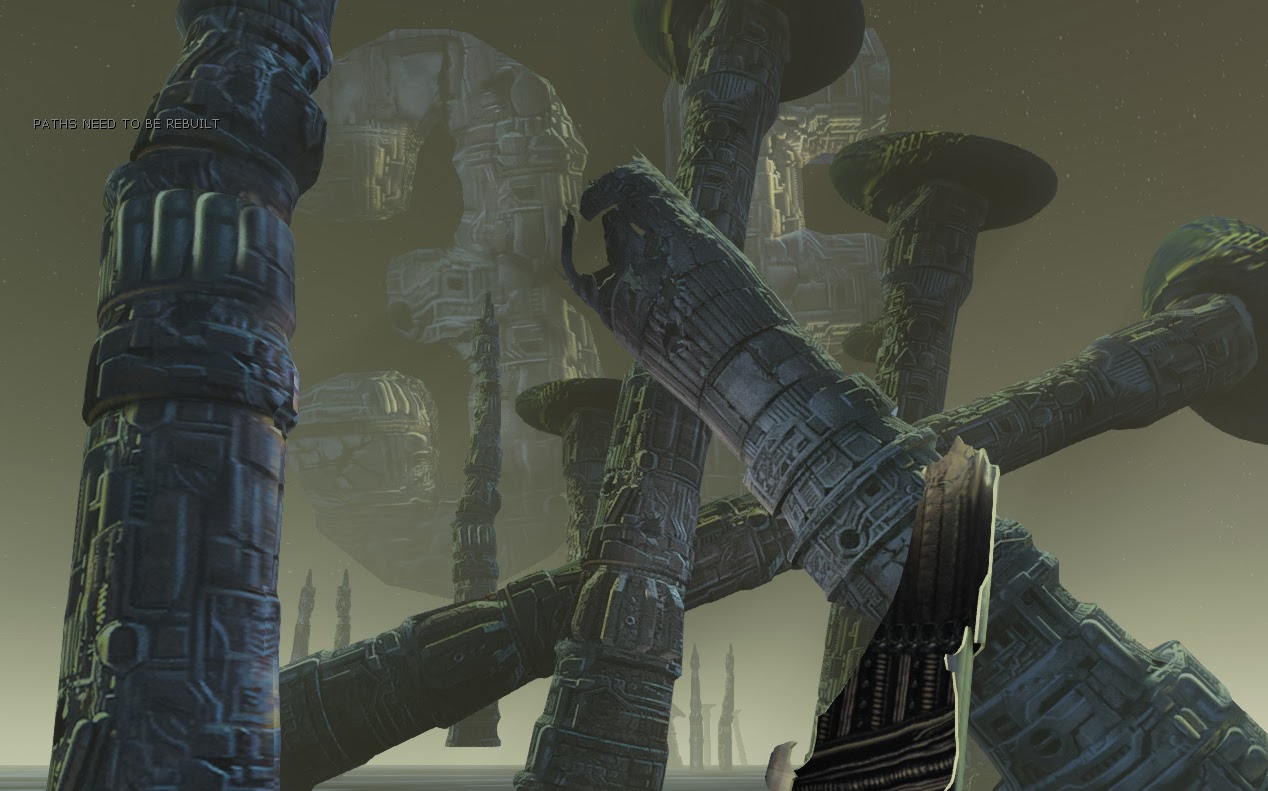
Working on a section of ground this morning. Doing it this way is risky because it introduces a lot of vertices. With careful merge work I can cut this vertex count down by half. I'll have to see if it is enough.
I replicated that block 6 times and deformed each copy slightly differently. I saved that as one object and brought it into UDK.
I then copied that object 6 times and adjusted the rotation to match the painting. Once I had that I continued to build up the ground. Here is the final result:
Next I need to build up the Clown's platform so the chair isn't floating the air.
That will be tonight's job.
I got it looking good in all directions and moved my logo off to the left.
This is my poor mans pano. I tried hugin but it was giving me trouble and I don't want to mess with it anymore...
I was going to use a human modeling tool tonight but decided to leave the person until last.
This is the first step of building the platform. I had to rotate the painting so I could use it as a background to keep the scale in tact. I had to think about this a bit. There are poles hidden under the platform visible it the left tear away. There are 24 panels that go around the circumference of the inner ring. I created a circle of exactly 24 sections to make my life easier.
Working on the platform textures...
Yup, that was a bad idea. I can't build 2 textures from scratch and expect the chair and platform to mesh. Texture work is often a very tedious process to get it right. I imagine I will be doing some hue adjustments to all the chair related textures in the end to get it to fit with the columns.
That's it for tonight.
Emerging from Trantor:
The final tunnel will be much longer...
Here is a video of this level in action:
I did work on the tunnel but UDK lighting is a finicky thing. I want the tunnel to have lighting under my control but the surface to use the dominant light. I was able to turn the light and fog off and on using kismet.
I put this aside for the moment to work wiring my boards together and adding the polishing touches on a new level I dreamed up yesterday.
I think it is important to continue to re-evaluate your work as you progress. It became clear that emerging from a tunnel is not a good idea for an opener. The player's view point is wandering all over the place when they emerge from the tunnel.
A better option is to move them forward. They will keep them looking in the direction I want so that they can see my logo at the end.
I haven't added any more meshes but I have the character flying over the landscape and the map transition into the starting map.
Here is a video of this level in action:
I added some music and opening/outro animations.
You can't see the opening because it is already in memory.
This looks very cool. Thanks for sharing! Is that Blender for the 3D and which games engine are you going to use?
ReplyDeleteVery cool! Maybe you should refer to the character as the clown in case someone hasn't finished the book yet? I read through all the Foundation novels 2 months ago.
ReplyDeleteBlender for 3D and UDK is the game engine.
ReplyDeleteVery well done, astonishing attention to detail!!
ReplyDelete