Friday, February 28, 2014

The Stacks Wallpapers

I have all the areas in place. Now I just need to do the grunt work of completing the game collection elements and linking them together.

A composite poster and some screenshots from each area of the game


And finally...
The last area is insanely great. I don't want to leave it. 

VR is going to change the world.

Monday, February 24, 2014

Hand Crafting

 February 25th, 2014

I spend ridiculous amounts of time researching and hand crafting every object I model. Take this IBM 2401 tape drive. I had to sift through countless images and even the manual to figure out all the details of this device. None of the images were in good enough shape to use so I had to rebuild all the buttons and labels in Photoshop. Each of the buttons are accurate in color and labeling.


There is an interesting sense of accomplishment in breathing life into something as old as this tape drive. Kind of like refurbishing a car only in a virtual world.


I even build 3D letters by hand. Each of these letters takes about an hour to model. It reduces the amount of vertexes by a considerable amount and when you have a large board, every vertex matters.


Saving & Loading Area


February 24th, 2014

When my game loads it has to hide around 20,000 objects. This is a slow affair. This made me have to come up with a creative way to kill time while it slowly does this.

My solution is a load/save/new area that you walk through. Your doorway selection automatically causes the appropriate action to occur.

I initially wanted a room like the end of 2001:

As I played with it I found the abstract nature of the emmisive white blocks fit my idea of "behind the scenes" code better so I removed all non-abstract elements and this was the result. I know it doesn't look like much, but it is very cool in the Rift.
 

A little context on entering it. Kinda feels like a holo-deck:


Sunday, February 16, 2014

Sneak Peak Stacks Hub Demo

 Preview - 02/16/2014

I have been working diligently to pull everything together for my Ready Player One Stacks demo. I still have a lot of work to do, but my entrance area is pretty solid.

I thought I'd get something out there in the mean time.

This is the hub where you will start in the final game. It can take you to the stacks and other areas that unlock as the game progresses. The links are disabled at the moment.

I have included several of the models from the stacks as display items. I have also included a small object using a yellow variant of my matrix material. The final matrix level of the full game is awesome. You're gonna love it.

I have also left on 3 features of the game: the flash light, running & high jumping. I will leave it to the player to figure out how to enable them. There will eventually be a hud to display the jump height. I just haven't gotten to it yet.

If you want to fast run & jump you will need to use a keyboard & mouse (the final game will support the wireless game controller). Standard keyboard movements (wasd).

There is a secret area. It shouldn't be hard to find :)

This project does have the approval of Ernest Cline. The final product will be free and I'm working to get it done as soon as possible. In the meantime, I hope you enjoy my sneak peak.


If you run into any issues, find the secret item or have any comments, feel free to leave them here. I realize this is a tiny demo but I wanted to work through the process of producing a UDK installer for people.

Saturday, February 8, 2014

Light Map Nuances

Light Maps

Light maps are something I learned about last fall but I never paid them much attention. They were affecting foliage under certain lighting conditions and I was able to get away with UDK generating them on my trees/grass.

What is a lightmap?
It is an additional UV channel on a static mesh that tells the light rendering engine what surfaces go together and how much emphasis must be applied to each surface.

Go on...
Lighting is an expensive calculation. Dynamically calculating lighting for a scene is not feasible so someone came up with the idea of pre-calculating lighting for a scene and "baking" it onto the surfaces of each mesh. When you are playing a game and you see wonderful lighting in rooms, what you don't realize is that this information is not being determined at play time. It was calculated ahead of time.

WTF did I just say? This video series goes into all the details on lightmaps:
http://www.youtube.com/watch?v=3eDjhOtiyuo

Normally I'd leave it to that video and that would be that.

Well... there are some nuances to light maps that I have learned over the last week that I thought I would share.

Here is a perfectly rendered scene:
It is dark, moody and reflects my lighting intent perfectly.

Here is the same scene with no light map UV channels:
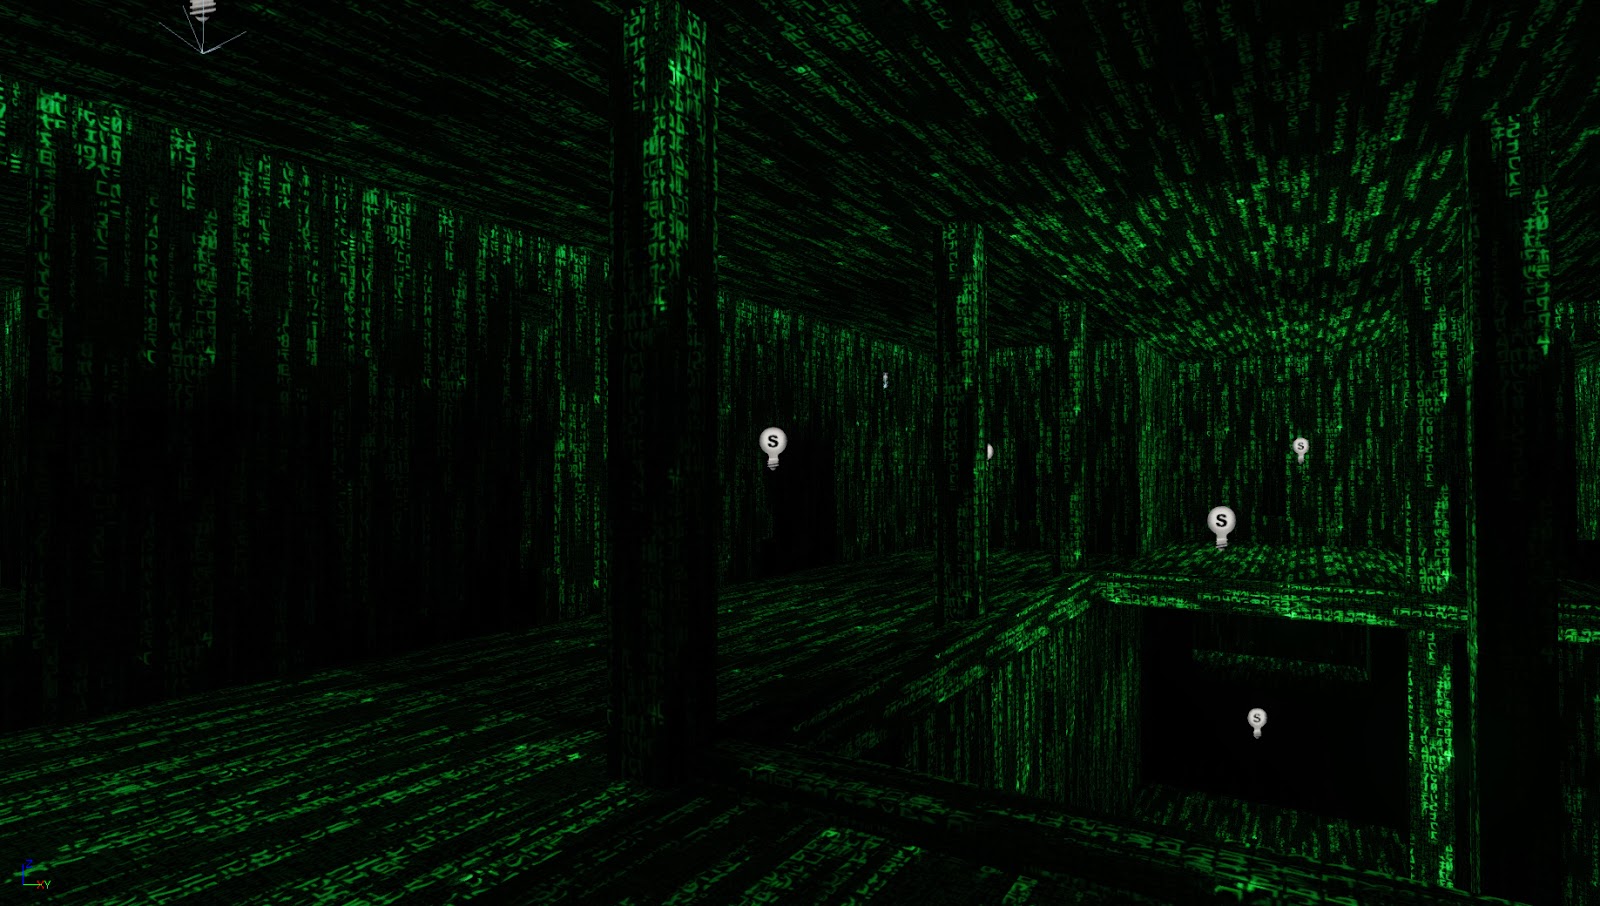
 
Notice how there is light streaking down the walls and the lack of fidelity on the ceiling and poles. This is nasty and you'd blame UDK if you didn't know anything about light maps.

When I rendered that no-light-map scene, UDK warned me:

Now lets create non-proportional light maps. By this I mean that every surface, regardless of size, is treated equally in the light map. Here is the light map in blender:

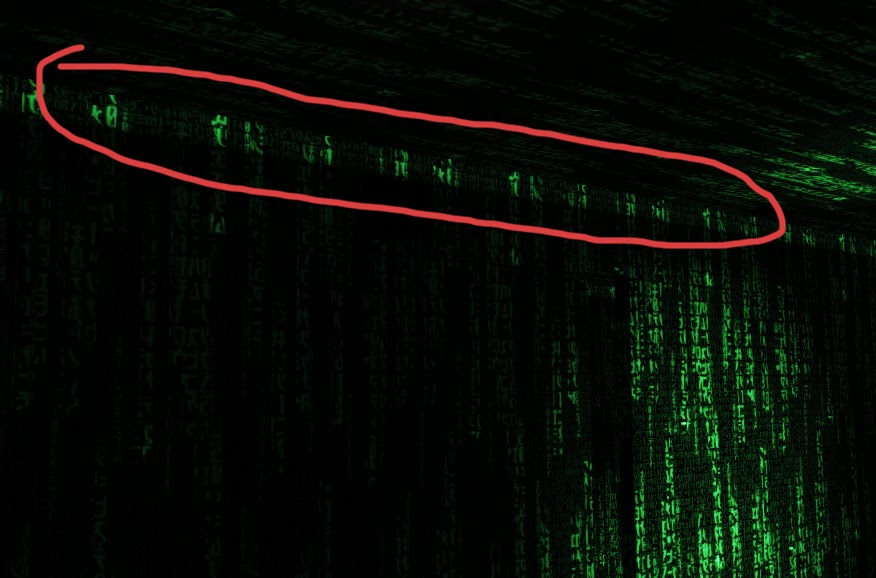
The results are close but I still have bleeding along the top of the walls:
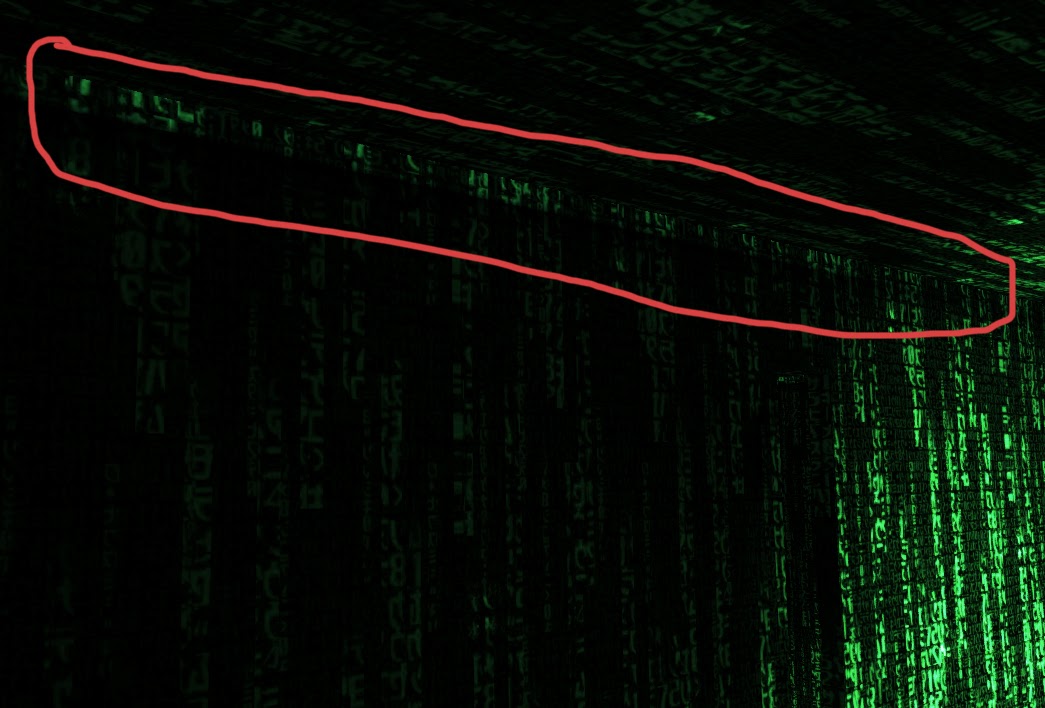
If I change the light map to give more emphasis to the large wall sides, the lighting build is perfect:

 Now, one step I have left out is that I have up'd my Light Map resolution to 64:

If you leave that at the UDK default of 32, here is the result:

We are back to the light bleeding at the top of the wall. I can tell you, this took a while to straighten out.

Lets summarize what we've learned:

1. Creating a light map with proper spacing is not enough. You need to allocate more space in your light map to larger surfaces so that enough room is given to the baked in information.

2. Perfectly proportional light maps are also not enough. You need to pay careful attention to the Light map resolution on each mesh in UDK. Be careful though. Don't just up your resolution to 1024. That will increase your map size and slow down your lighting calculation. You want the smallest factor of 2 that will render properly. In my case, it was 64.

These 2 nuances make all the difference in perfectly lighting a scene. They are really 2 sides of the same coin. Each adjustment is giving more room to larger surfaces and there is a sweet spot where lighting will work properly. You need to experiment with your mesh to find the right balance.

Sunday, February 2, 2014

Matrix Material Completed


This weekend I tasked myself with replicating the Matrix look & feel. I pretty much did little else but think and work on this saturday & sunday.

It is different from other versions I've seen because the letters stick in place (like they should) instead of panning . The appropriate letters highlight, existing letters change values and it can take lighting. If it is transparent light rays even come thru the letters. There is a lot of black magic going on here. It also includes a height map to give its layers depth

You will find this inside a bonus area of my upcoming Oculus Rift demo "The Stacks"

This is with transparent turned on.

Testing it out with some quick modeled floor and columns:


Props go out to Jeremy Blouir for setting me along the right path. My solution is very different but it uses some of his ideas.

Update: Here is an animated gif of the texture in action. The lighting is a bit dark but I gotta go to work in a moment so it'll have to do...

Saturday, February 1, 2014

Creating an animated gif of a movie segment


The Horror of creating an animated gif

Forgive me. This animated gif is 14MB. It is 3 seconds of 720p. Flickr gave me the finger when I tried to upload it so I just uploaded it here. The original one on my computer is 1080p.


I needed this reference gif for building a replica of it in UDK. It needed to be an animated gif instead of just a movie so there would be no pause between looping and I could run it in a browser.

Creating this 3 second animated gif was a total pain in the ass.

If you want a gif of a movie snippet here are the steps. This should work with any movie format :)

You will need to own photoshop CS4 or above. Sorry if you don't have it.

Part One: trimming the file
program : avidemux
> download, install and open it
> open your file
> play to the point you want to start your cut. Press the red A button to the right of the controls
> play to the point where you want to stop your cut. Press the red/white B button to the right of the A button
> NOTE: you can fine tune your position with the arrow buttons
> click the 'save icon'

Part Two: converting the file to work with photoshop CS4+
program: NCH Prism
> download, install and open it (avoid its browser toolbar install option)
> add your trimmed file
> pick output format of .mov
> click convert

Part Three: creating the animated gif
program: Photoshop CS4+
> NOTE: you will need quicktime 7.1+ installed. download it here if you don't have it
> NOTE #2: you need to run the 32 bit version of photoshop to get the menu item we need
> select file : import "video frames to layers"
> click on ok once it shows up and you will now have layers for your video.
> select the animation window if it isn't visible
> press play in the bottom left corner to make sure it looks good
> NOTE: I had to delete a blank/white frame from the animation
> select file : "save for web & devices"
> click save

voila you now have an animated gif of your movie snippet.

Update:
A recommended alternative is gifcam. I tried it and it worked very well.